Parts of a Report - How do I read a report?
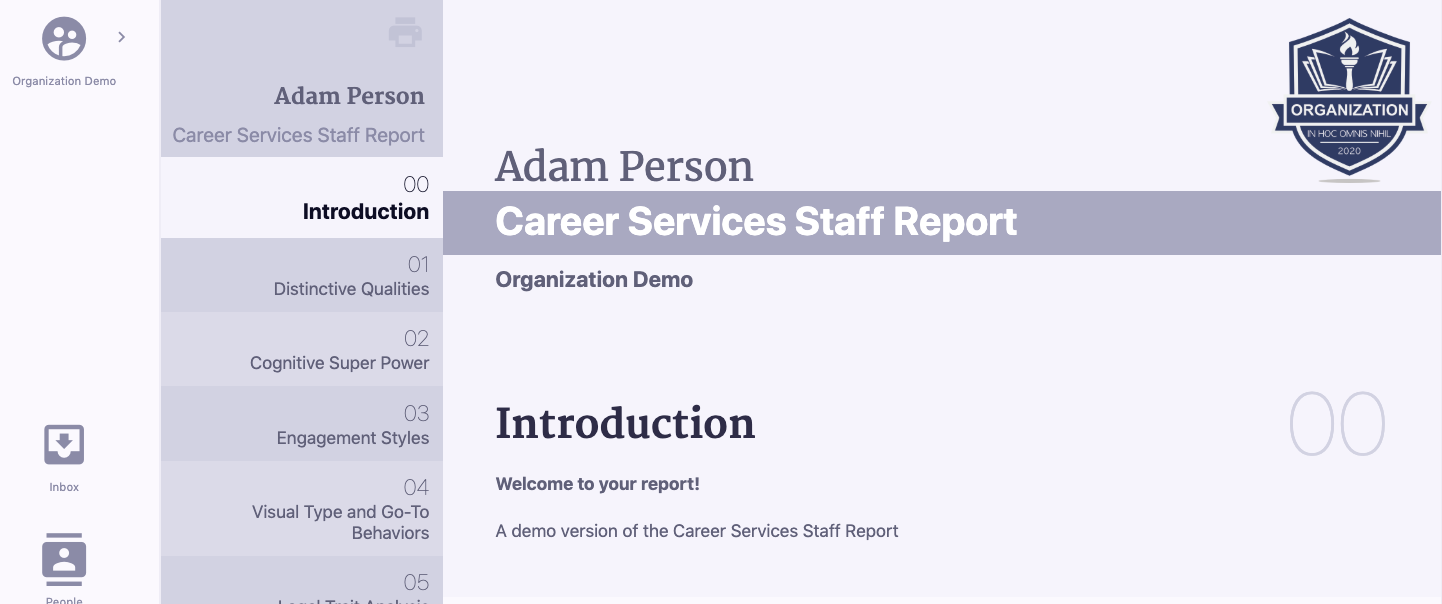
When you are on a page and click a report to view, the report will open up in a new tab. Even when an Admin or Person views a report, their navigation bar always remains to the left.
Report Navigation
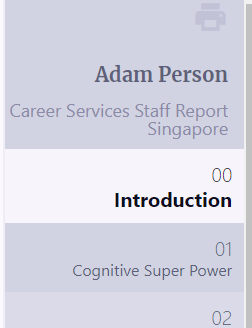
The report itself has a table of contents to the left which acts as its own navigation bar, allowing the reader to jump between report sections easily. At the very top of the table of contents is a printer icon, which allows the viewer to easily print off a full hard copy of the report.
Basic Information
At the very top of a report, there is always basic information, which includes your organization’s name and logo, the group name if this report was distributed through a group, and “Individual Report” or “Group Report.”
Introduction
This is the introduction that the Admin who created this report wrote when they made it. If you do not see an introduction, not to worry, it just means it was left blank when creating the report. To add an introduction, head to your Manage page to edit this report.
Report Sections
After the Introduction, each report section follows in the order in which they were arranged. Each report section has a title and section number which corresponds to the table of contents. Underneath each report title is a brief description of the report section followed by an information box that says, “Need More Detail.” Clicking the “V”, opens the description box. Clicking the red circle with the X in the upper right corner of the description box closes the information box.
Report Section Credits
Since different report sections can have different authors, each author is credited at the bottom of each report section in small grey text next to their copyright information. Authors are also linked to their biography page, so you can view their background, additional materials, and contact information.


